
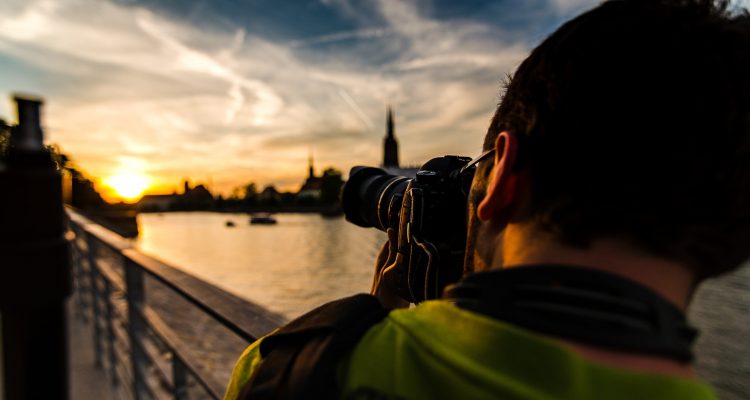
Travel photography is a great activity for people who are always up for an adventure. It’s exciting to explore different places, meet new people, and see the breathtaking beauty of the world.

Photo: Karia Yolu, Turkey via @berkizildag
Now, it’s one thing to experience stunning travel destinations with your own eyes, but it’s another to experience them through the viewfinder of your camera. You get to interpret each destination based on your own personal adventures, and you can immortalize them in the way that you want to remember them.
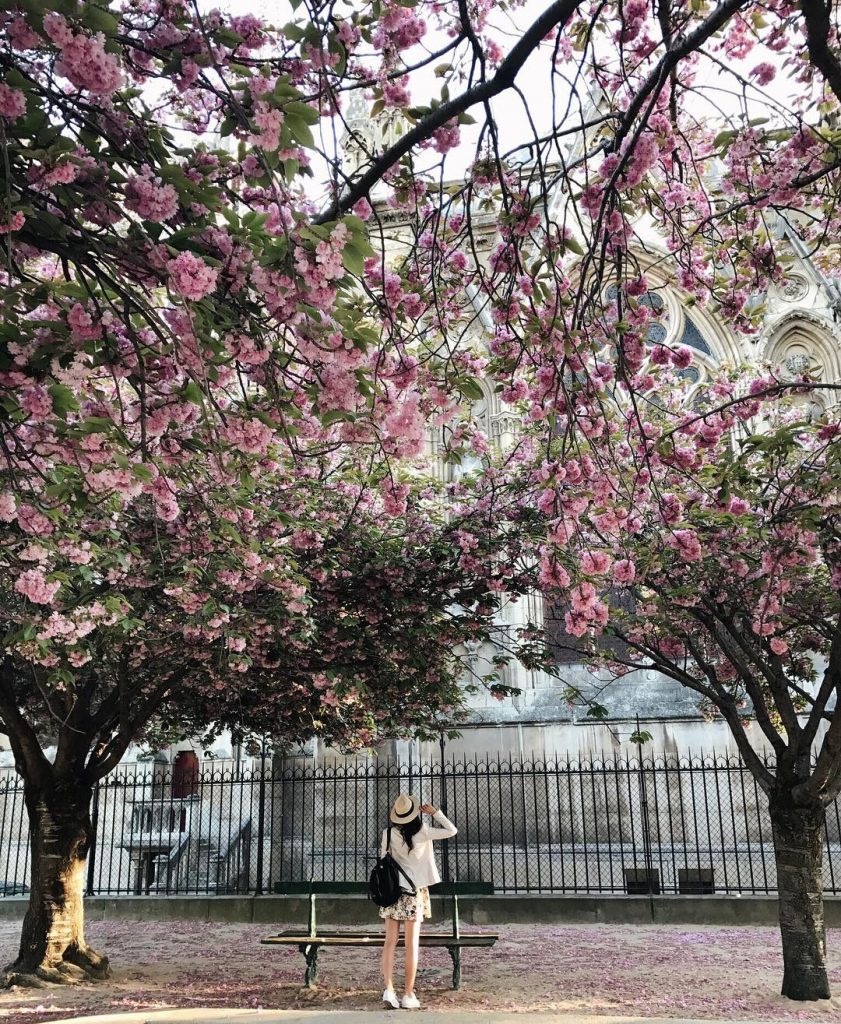
Photo: Cathédrale Notre-Dame de Paris via @epipha_ny
Whether you are a professional photographer or not, it’s definitely a must to snap photos that will serve as lifelong souvenirs from your escapades around the world. But do keep in mind that going on a photography trip isn’t the same as a leisure trip, because unlike a regular vacation, a travel photography trip will require certain kinds of photography equipment to help you achieve the images you’ve always visualized.
Also, you will have to be selective about what equipment to bring to keep your bag light enough to not wear you down along the way.
To help you keep your gear light and portable, here are seven travel photography hacks that might be useful for your future trips:
1. Use macro extension tubes instead of lenses

Photo by Nesster
If you’re into macro photography, you’ll probably need to bring a dedicated lens to achieve those types of images. Unfortunately, macro lenses are typically long, heavy, and not particularly convenient or portable for travelers who are always on the go. If keeping your gear light is important to you, the best alternative is to invest in a simple extension tube, which can be purchased from online camera retailers like Adorama.
So how do extension tubes work? They increase the distance between the lens and the sensor to create a macro effect. What’s great about these macro extension tubes is that they don’t have any glass in between, which means they are much lighter than regular macro lenses.
2. Create and use a DIY flash diffuser
Conventional flash diffusers can take up space inside your camera bag. So does that mean you have to leave home without one?
Not at all.
If you’ve got some rubber bands and at least one small piece of white cardstock, you’re good to go. Pack them in your bag for a DIY flash diffuser that’s ridiculously affordable, easy to assemble, and highly portable.
3. Place lenses in thick socks
Camera lenses are quite fragile, and therefore they must be handled carefully. Some of the more expensive ones are built with highly durable exterior bodies, but since they are mostly made of glass, they are still prone to breakage.
To avoid damaging your lenses during travel, make sure to place them inside thick socks (the thicker the better) to protect or cushion them while inside your luggage or camera bag.
4. Block excessive brightness with a welding glass
Wondering how you can block the excessive brightness caused by the sun or any other light source? Bring a welding glass that can serve as your ND filter. It can easily be found in most hardware stores, and it’s certainly more affordable than spending on actual lens filters.
Keep in mind that using a welding glass can be tricky, as it can block the light ten times more than the usual ND filter. But smart traveling and photography is all about practicality and getting the job done with the cheapest and most convenient tools at your disposal, so as long as you know the limitations of any alternative tools that you decide to use, you should have no problem.
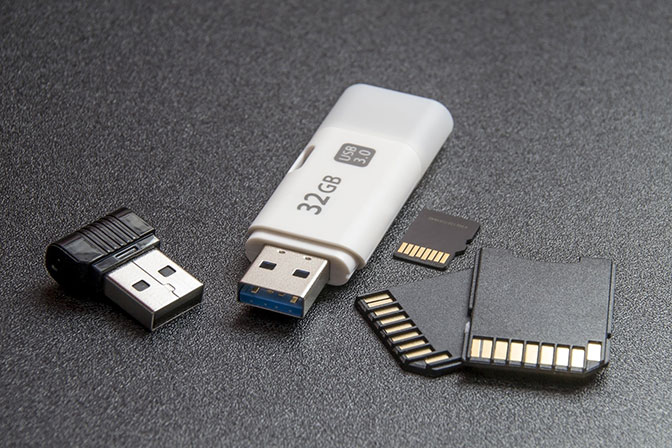
5. Use WiFi-enabled memory cards
A lot of cameras these days are WiFi-enabled, allowing the user to wirelessly transfer files from the camera to their smartphones. If you don’t have that particular feature in your camera and you don’t want to upgrade your camera just yet, the next best thing is to use WiFi-enabled memory cards.
With these cards, you can easily transfer files from your camera to your phone and share them online without spending thousands of dollars for new gear.
6. Use lens caps as memory card keeper
This hack has been around for quite some time, but it still deserves a spot on this list because of how simple and brilliant it is.
The awesome thing about camera caps (body or lens) is that when you screw them together, they will fit perfectly and create a small, hollow space in between them. This small space is ideal for storing small items (such as memory cards) that can easily get lost inside your camera bag.
7. Invest in a tripod with monopod feature
As a travel photographer, it’s important to have something to stabilize your camera with—especially when shooting landscapes, moving subjects, or nighttime scenes. A tripod is usually the photographer’s equipment of choice, but a monopod can also help you take great photos that you won’t normally get with a tripod.
The compromise? Get something that can do both. Keep your travel gear light by investing in a tripod that can be converted into a monopod, and vice versa. This way you won’t have to deal with the difficulty of deciding what to bring. After all, having both allows you to have more freedom and creative control over the outcome of your images, so why would you want to choose just one?
And that’s it! We hope you find these hacks useful for when you go on your next travel photography trip.
Here i thought I was one of the only ones who packed camera equipment in socks while traveling the globe! you’d love the strange looks I get at the airport when they want to inspect it all “dont worry, they’re clean…” LOL!
Patrick H recently posted…Travel Like a Pro: What’s in my Camera Bag
Haha yeah, it’s definitely a great tip! I have always had such an issue with cracking screens (especially with iPhones) whenever I’m out doing anything adventurous. Socks are the perfect solution! Thanks for the comment Patrick!
Danny Flood recently posted…My First Trip to Brunei – Participating in Brunei National Day
Some fabulous tips Danny. Certainly, things I would never had thought about.
Great post. Thank you.
Cheers Sharon…
Sharon recently posted…Shark Shield Freedom7 Shark Repellent – Proven to deter Great Whites
Awesome article for the travel photography tips. Thank you so much for your useful article.